 |
| K60XV Built and Installed |
According to Elecraft, the kit was discontinued because they no longer had a source for the bottom adjusting variable capacitors at C1 and C2. While I understood, I was still disappointed.
While reading the Elecraft mailing list, I stumbled on a message from a fellow named Chuck. He said the managed to obtain the parts for a K60XV and put it together. I followed up with an e-mail, and Chuck indicated that he obtained the PC board, processor and a few other parts.
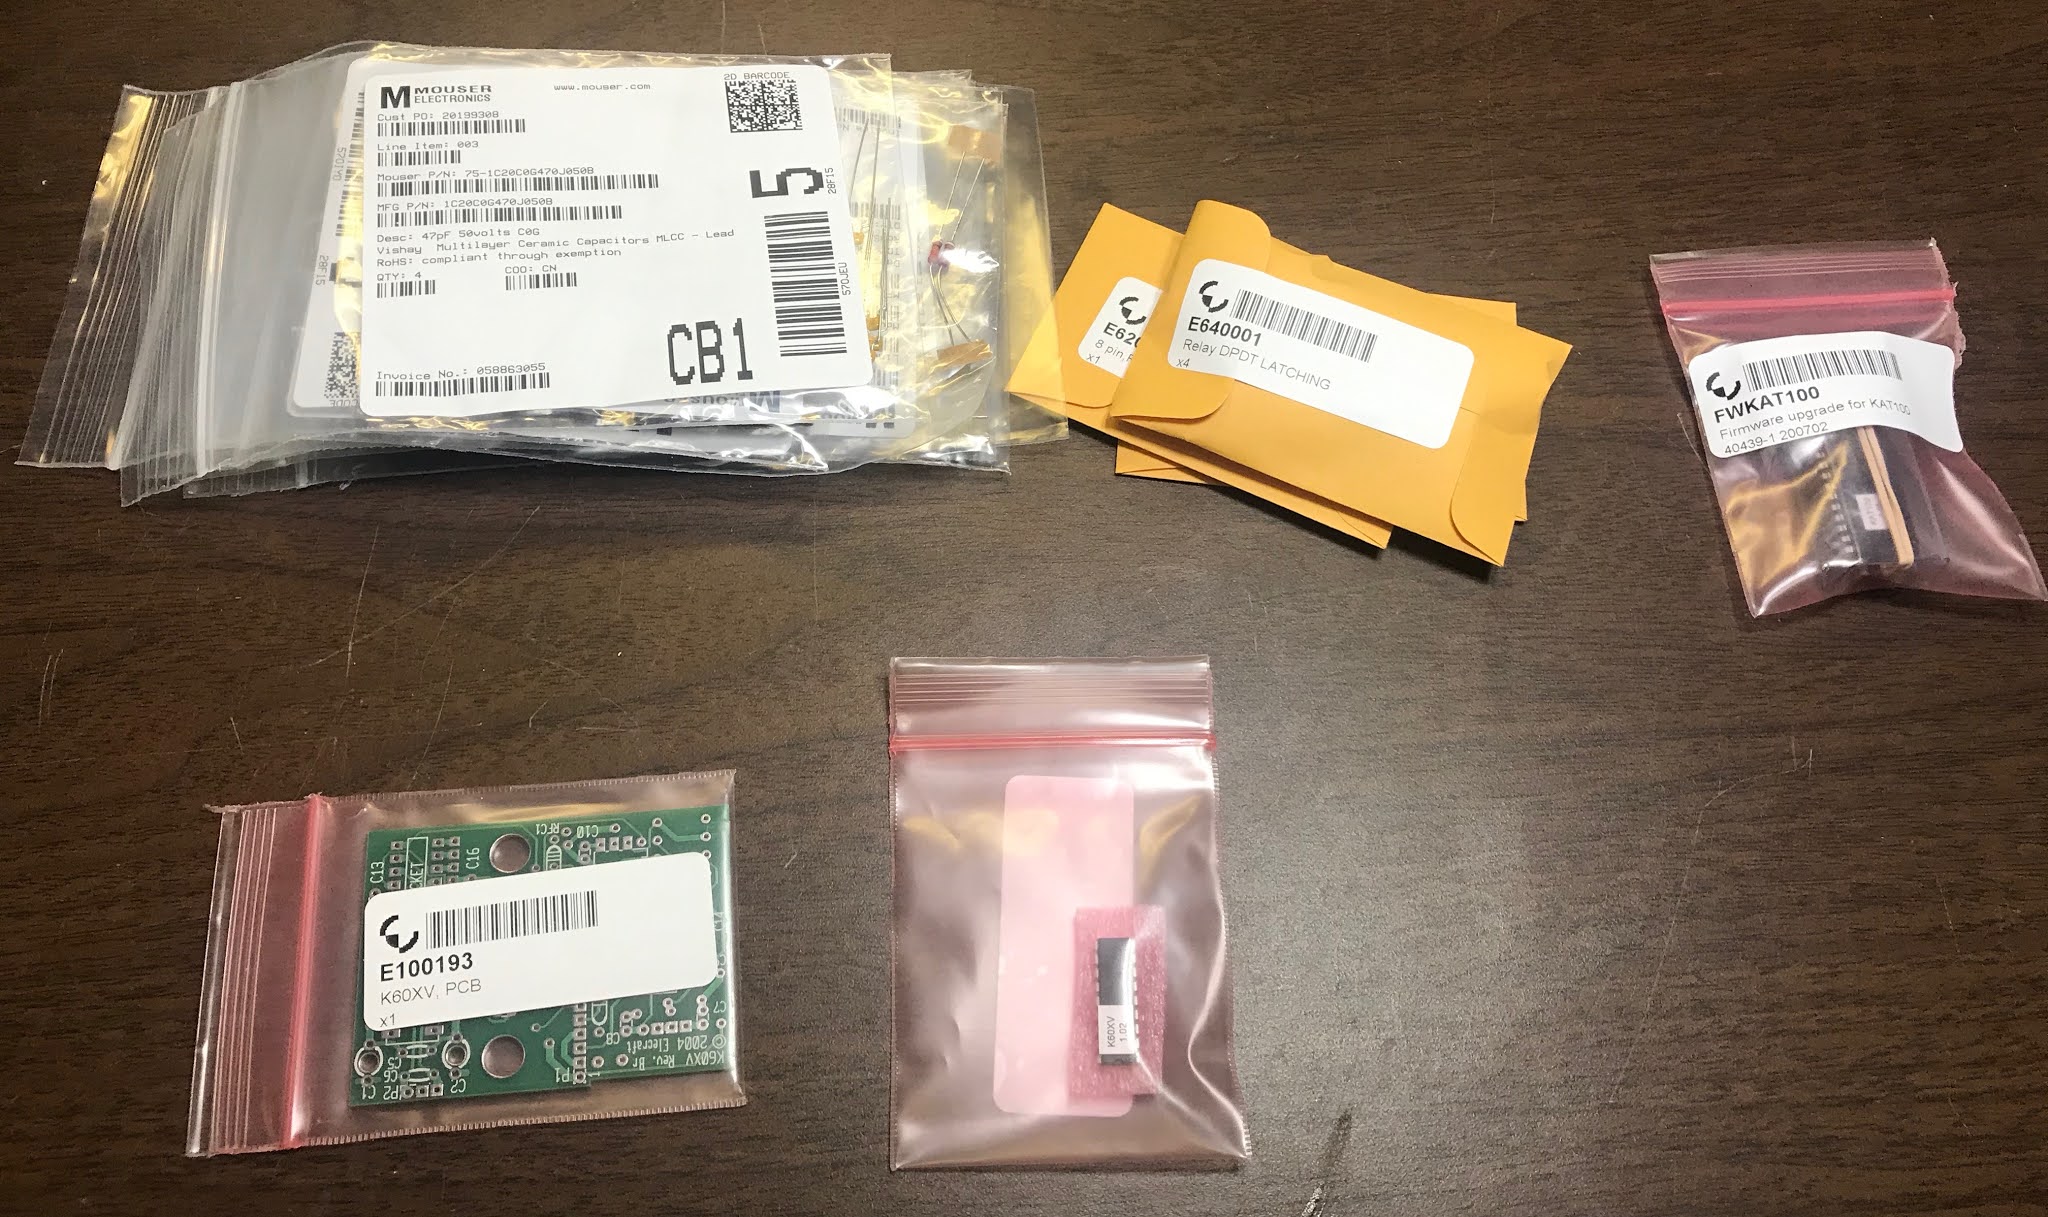 |
| K60XV "Kit" - a collection of parts |
- E100193 - K60XV, PCB $24.93
- E610018 - MCU, K60XV $6.60
- E640001 - Relay DPDT LATCHING $2.60
- E620005 - 8 pin FEMALE, 0.1LS $3.65
- E620009 - 3 pin FEMALE, 0.1LS $2.08
- E620076 - 8 pin MALE, 0.1LS, Elevated $2.49
- E620077 - 3 pin MALE, 0.1LS, Elevated $0.92
- E700090 - Nylon Stndff,3/16D,9/16L, Hex $1.18
These were all parts that were either exclusively from Elecraft, or those that I had trouble finding elsewhere.
I also ordered:
- FWKAT100 - KAT100 F/W Upgrade to 1.05 $49.95
- E700002 - TO220 Thermal Insulator, Adh $1.96
My KAT100 was older, and I needed the newer firmware for it to work on 60m. Installing the K60XV requires you to remove the heatsink panel, and I wanted to make sure I didn't destroy the thermal insulating pads.
For the rest of my parts, I combed through my junk box and also placed an order with Mouser. I didn't have any difficulty finding the rest of these parts.
 |
| Board with parts in place. |
The main RF board requires a couple of modifications in order for the K60XV to function. This is probably the hardest part of installing this option.
If you were lucky enough to have a serial number of 3000 or higher, this job is much easier. For those of us with Rev A RF Boards, it's a little more difficult.
 |
| D19 and D20 install. |
Hooking up the RF connection is a little picky as well. Take time when prepping the coaxial cable. Some folks have used heat shrink on both ends of the coax, but I didn't find that necessary.
I ended up being pretty happy with the RF board mods.
 |
| RF line install finished. |
I shouldn't have been nervous. With a sharp knife, the sticker came off easily and transferred to the new panel with ease. The thermal insulating pads came off easily as well, and I had no trouble moving them.
I fitted the K60XV board and considered my options for installing C1 and C2. I considered installing my caps upside-down using short lengths of wire. However, there appeared to be plenty of clearance between the top of the K60XV board and the KPA100 shield. As I measured it, there was about 2mm of space between the top-mounted capacitors and the shield. So, I opted to mount them on top of the board. My caps were a perfect fit.
 |
| Rear view of the finished installation. Looks great. |
Buttoning it all up again, I'm very pleased with the result. I don't know how long Elecraft's supply of parts will last, but if you really want a K60XV, you should inquire with Elecraft's parts department and see if they still have these parts available.

Brilliant....Just got my board and key parts from Elecraft. Any chance you can upload the list of parts you bought from Mouser? I am measuring the PCB holes and trying to get the right parts.
ReplyDeleteLet's try that again:
DeleteHere's the list of what I ordered.
Mouser #: 810-FG28C0G1H2R2CNT0
Mfr. #: FG28C0G1H2R2CNT00
Desc.: Multilayer Ceramic Capacitors MLCC - Leaded Multilayer Ceramic Capacitors MLCC - Leaded RAD 50V 2.2pF C0G 0.25pF LS:5mm
2 $0.17 $0.34
2 Shipped 29-Oct-20 58863055
Mouser #: 810-FG28C0G1H4R7CNT0
Mfr. #: FG28C0G1H4R7CNT00
Desc.: Multilayer Ceramic Capacitors MLCC - Leaded Multilayer Ceramic Capacitors MLCC - Leaded RAD 50V 4.7pF C0G 0.25pF LS:5mm
2 $0.17 $0.34
2 Shipped 29-Oct-20 58863055
Mouser #: 75-1C20C0G470J050B
Mfr. #: 1C20C0G470J050B
Desc.: Multilayer Ceramic Capacitors MLCC - Leaded Multilayer Ceramic Capacitors MLCC - Leaded 47pF 50volts C0G 5% 5.0mm L/S
4 $0.18 $0.72
4 Shipped 29-Oct-20 58863055
Mouser #: 810-FG28C0G1H121JNT6
Mfr. #: FG28C0G1H121JNT06
Desc.: Multilayer Ceramic Capacitors MLCC - Leaded Multilayer Ceramic Capacitors MLCC - Leaded RAD 50V 120pF C0G 5% LS:5mm
2 $0.18 $0.36
2 Shipped 29-Oct-20 58863055
Mouser #: 594-K102K15X7RH5UH5
Mfr. #: K102K15X7RH5UH5
Desc.: Multilayer Ceramic Capacitors MLCC - Leaded Multilayer Ceramic Capacitors MLCC - Leaded 1000pF 100volts 10% 5.0mm X7R
4 $0.10 $0.40
4 Shipped 29-Oct-20 58863055
Mouser #: 791-RD21B103K500A5HA
Mfr. #: RD21B103K500A5HAND
Desc.: Multilayer Ceramic Capacitors MLCC - Leaded Multilayer Ceramic Capacitors MLCC - Leaded CAP X7R 0.01 uF 10 % 50V 5LS AMMO
10 $0.10 $1.00
10 Shipped 29-Oct-20 58863055
Mouser #: 71-CCF0791K0GKE36
Mfr. #: CCF0791K0GKE36
Desc.: Metal Film Resistors - Through Hole Metal Film Resistors - Through Hole 1/4watt 91Kohms 2% Rated to 1/2watt
2 $0.10 $0.20
2 Shipped 29-Oct-20 58863055
Mouser #: 542-78F150J-RC
Mfr. #: 78F150J-RC
Desc.: Fixed Inductors Fixed Inductors 15uH 5%
5 $0.24 $1.20
5 Shipped 29-Oct-20 58863055
Hello, what PIN diodes did you use for D1 and D2 please? Tnx Gerd DF9TS
ReplyDeleteGerd, as I recall, I did not use the fancy device they have in the most recent schematics.
DeleteThere's a K60XV MANUAL ERRATA Rev. B-3, December 15, 2013 that shows them just using 1N4148 diodes. That's what I used.
Gerd, I found some notes on this project, and I had written "Substitute 1N4148 or 1N4007" for D1 and D2. I used the 1N4148, but the 1N4007 should work as well.
DeleteI've ordered the parts from Elecraft - they had the list you gave in your post. I'm scrounging from the junk box and mouser everything else. Do you have a good source (and part number) for C1, C2? I'm not very good at finding parts that fit the holes!
ReplyDeleteWorking on my K60XV. Got the list of unusual parts from Elecraft. Working on the rest from junk and mouser. Do you have a good source for C1, C2 (the adjustable caps)? Maybe a part number and source? I'm such a noob with finding parts that fit!
ReplyDeleteWhat's a source for C1, C2 that fits the spec and the board? I'm a noob with component sourcing!
ReplyDeleteWhat’s a good source and part numbers for C1, C2 that you used?
ReplyDeleteSeveral comments have asked me what caps I used for C1 and C2 on the K60XV.
ReplyDeleteAs I wrote in the article, I did not use the bottom adjustable 8-50 pF caps in Elecraft's original design. Elecraft themselves stopped producing this kit because they no longer had a source.
Instead, I used some 7-40 pF top-adjustable caps that I had purchased for another project. Even though they are on the top side of the board, I had about 2 mm of clearance.
I purchased these trimmer capacitors nearly 20 years ago for a 6m transverter project I haven't built.
Turns out, they are still available. They are Sprague Goodman GKG40015 -- and Mouser.com still carries them.
See here: https://www.mouser.com/ProductDetail/Sprague-Goodman/GKG40015?qs=HdU6uKlpW%252BrXHyPK8xep9g%3D%3D